I want to create an object that is able to generate 6-word stories with the help of user interaction. It is based on a combination of a few ideas. Those machines in arcades with the circling lights that you need to press at the right time to get a lot of tickets. Combining this with ‘story’ creation is my way to make fun of AI-generated text, which I am not a fan of. The idea of the 6-word story comes from two things: Wired magazine, where people are prompted to create a new 6-word story each month, and an AU Arts class called Words at Work. We had a warm-up activity called Proverb where we stood in a circle and each said a word until someone declared that it was a proverb, then we wrote down the sentence and started again.
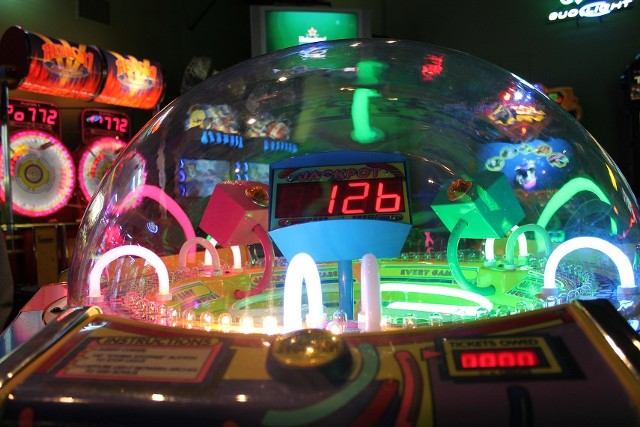
Here is the arcade game I was talking about:

The object will be a circular or square box with a 'spin-the-wheel' set up with words in a circle. The words will be chosen from the inner-most circle to the outer-most circle. Each layer of words will be part of a sentence 'formula' so something mildly coherent can be made each time. To choose the words the viewer will press the button, the light will stop circling for 5 seconds and the user can choose to write down the first word, or try again. After they choose the first one, they press the button again and pick a word from the second circle of words.
Here are my sketches:

_1.jpg)
I think Neopixel or something comparable would be best to get the light effect that I want. This issue is the flat neopixel lights we have wouldn’t work because they would need to be shaped into a circle with the lights facing up. Adafruit does have rings, but the only one on Amazon seems too small (maybe I could change the design a bit to get it to work). Here is the one that would work best. So far I have only found this size on Adafruit, and shipping is expensive. These also seem to be the same as the ones on Adafruit, but on Digikey, they are a bit more expensive. Apparently either way I would need 4 to make a full circle. There are also these Christmas-style lights on Amazon that could probably work.
For the button I would like to make my own oversized button, I’m just not sure what material would be best for that yet.
For the box, I think a wooden box would work well, ideally a thin wood that would be easy to cut with the laser cutter. Alternatively, I might consider 3D printing a circular box, with holes for the lights and buttons built into it.
For the paper in the centre with the words to choose on it, I wouldn’t mind a normal piece of paper, as long as there was a cover for it, maybe made out of acrylic or another thin clear plastic.
Please let me know if you have any suggestions of where to get this stuff, or if anyone is buying stuff from Digikey we should do an order together.
I'm excited to start working on this project more next week!
Comments
Post a Comment